¶ Venio AWS VPN Instructions
The Venio VPN allows you to connect to environments hosted by Venio safely and securely. This is a split-tunnel VPN so your computer system will still interact with the internet directly outside of the Venio VPN environment and only the necessary Venio environment traffic will be secured by the VPN.
¶ Install VPN Client
Follow these steps to download the configuration file, as well as the correct VPN client for your Operating System.
- Navigate to the self-service portal:
https://self-service.clientvpn.amazonaws.com/endpoints/cvpn-endpoint-0f9914f54a6236dcc - Login with your AD (Active Directory) username and password.
- First, click ‘Download client configuration’
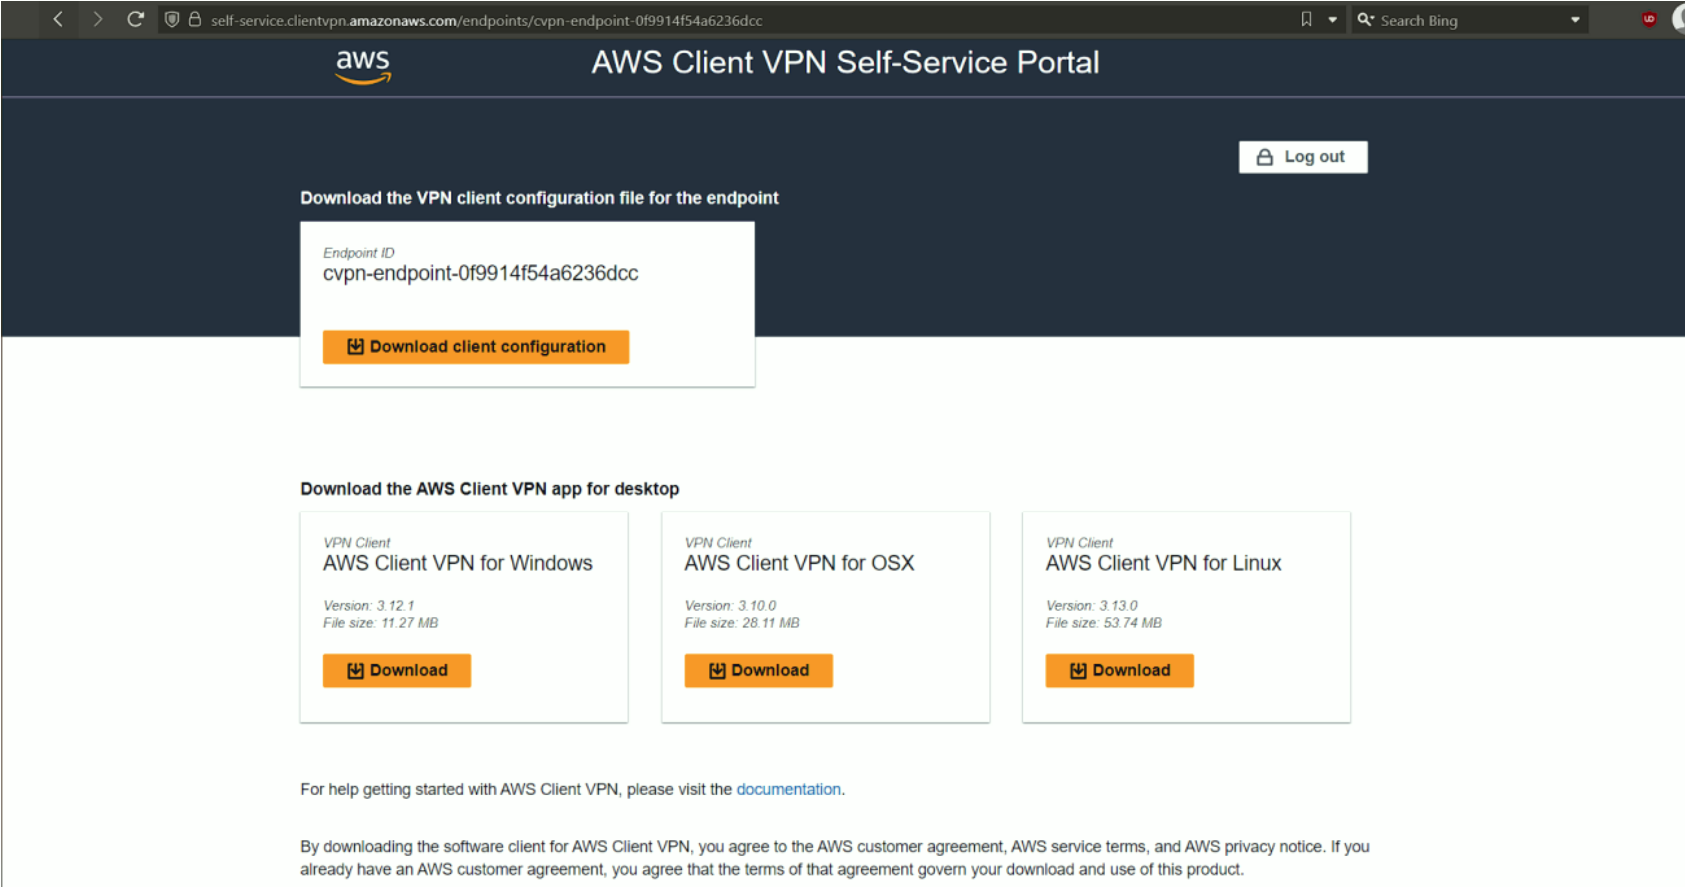
- Secondly, depending on which Operating system you are using, click 'Download' then install the AWS Client VPN app for desktop.
¶ Configure VPN Client
Follow these steps after the installation of the AWS VPN Client is completed to configure the AWS VPN Client so it connects with the Venio VPN.
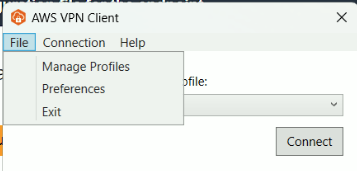
- Run the AWS VPN Client
- Click ‘File’ → Manage Profiles → Add Profile
- Type the Display name, for example: ‘Venio AWS VPN’
- Click the browse folder icon to navigate to the VPN client configuration you should have already downloaded in step three of the Installation Instructions then click ‘Add Profile’
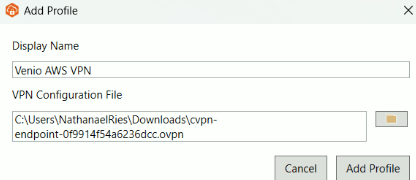
- Click 'Done'
¶ Connecting to the Venio VPN
Follow these steps once the AWS VPN Client has already been downloaded, installed, and configured.
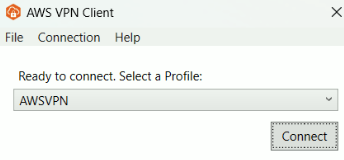
- Select the profile you should have already created in the Configuration Instructions and click ‘Connect’.
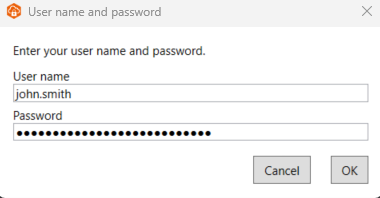
- Type your AD (Active Directory) username, just the username, do not add the @veniosystems.com, for example, john.smith
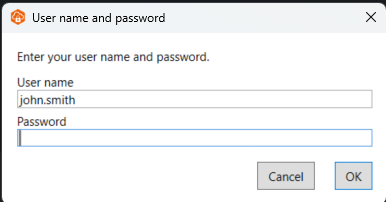
- Type your AD (Active Directory) password, same as your veniosystems.com email password. Click 'Connect'
- You should now be connected.
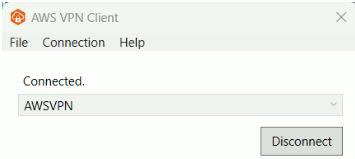
- When you are finished with the need to access the VPN, to disconnect, simply click ‘Disconnect’