¶ Processing Structured Data in VenioOne OnDemand
Structured data import is one of the more complex workflows in VenioOne OnDemand. It enables users to load third‐party structured exports (such as those from other eDiscovery platforms) into a case and then map and validate the field information before processing. This article provides a detailed guide to walk you through the entire process.
¶ Overview
When you import structured data, you are given a load file that contains information about the documents and metadata. The workflow includes:
- Template Selection: Choosing a load file template to guide field mapping.
- Path & Format Configuration: Adjusting load file and image file paths, date formats, and time zones.
- Mapping Fields: Previewing and mapping load file fields to the corresponding Venio fields.
- Validation & Import: Validating the mapping and initiating the import process.
Because the process involves multiple screens and several configuration options, careful attention is needed at each step to avoid errors.
¶ Prerequisites
Before you begin, ensure that you have:
- Access Rights: Sufficient permissions to perform structured data imports.
- Structured Data File: A correctly formatted load file (typically provided by your eDiscovery export) with the necessary field mapping information. Please ensure that your loadfile is formatted properly and in the root of the .zip archive.
Loadfile format information page - Template Availability: At least one import template (e.g.,
DefaultImportTemplate) available in the system. - Basic Settings: Correct values for date formats, time zones, and file paths for both the load file and images.
¶ Step-by-Step Workflow
¶ 1. Initiate the Structured Data Import
- Access the Import Section: Navigate to the “Upload” area in VenioOne OnDemand.
Once the zip file is uploaded, you will receive two notifications. The first notification will indicate the completion of the upload, and the second notification will notify you when the import analysis is complete.
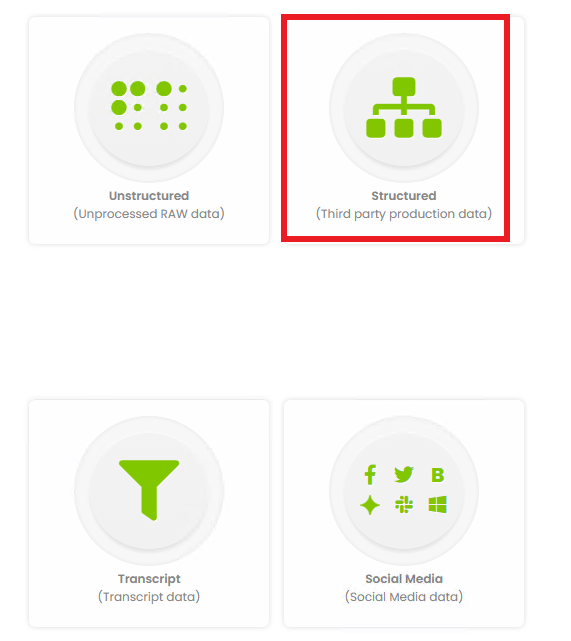
- Select Data Type: Choose the option for structured data. This will open the “Select Load File” dialog.
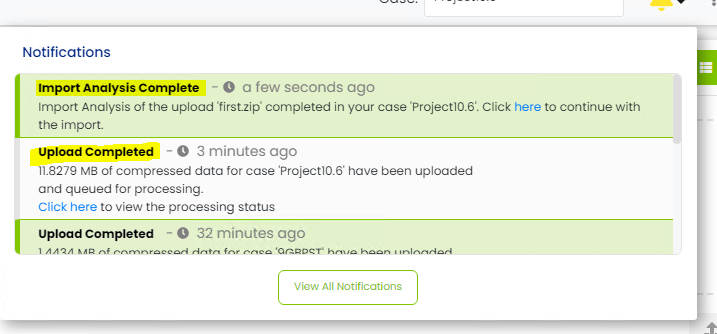
Click on the 'Import Analysis' notification to initiate the import process.
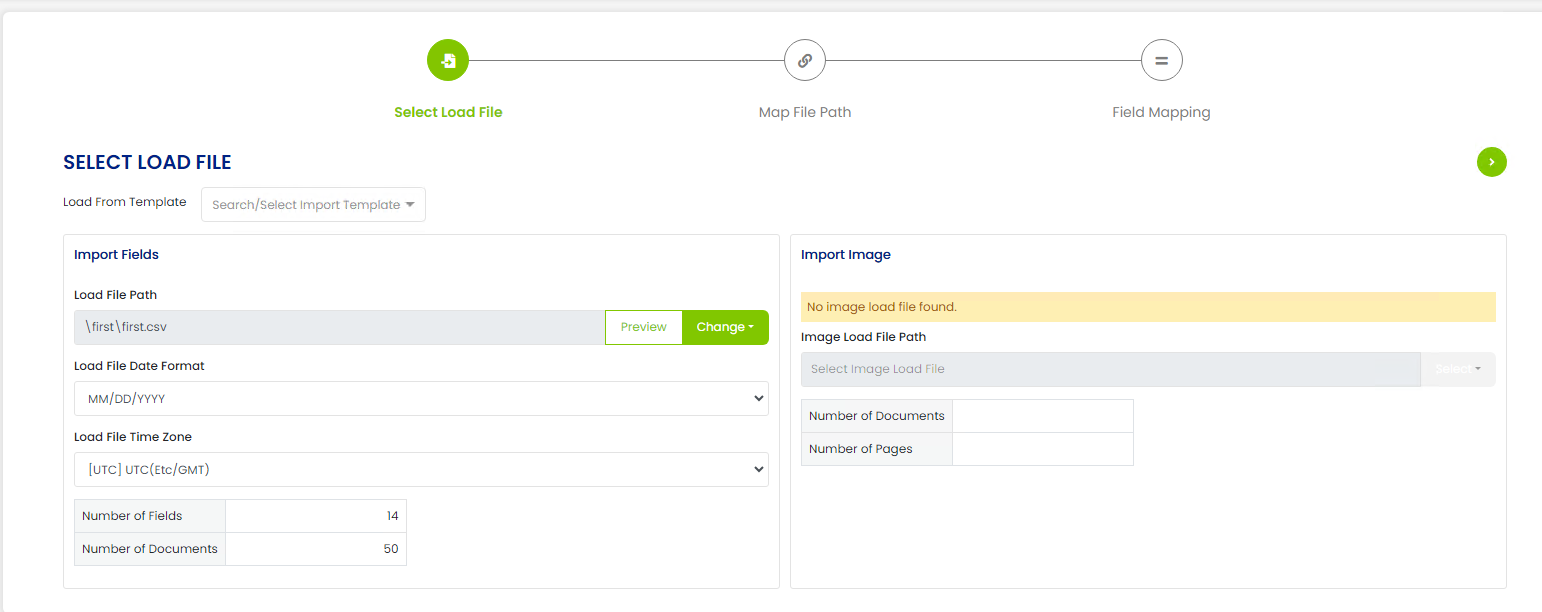
¶ 2. Choose and Configure the Import Template
- Template Selection:
- From the drop-down menu, select a load file template (the default is often
DefaultImportTemplate).
- From the drop-down menu, select a load file template (the default is often
- Configure Paths & Settings:
- Choose the load file path of the imported archive container.
-
Adjust the Date Format and Time Zone to match the data.
-
If applicable, change the Image Load File Path.
-
Next Step:
- Click the Next button to proceed to the mapping screen.
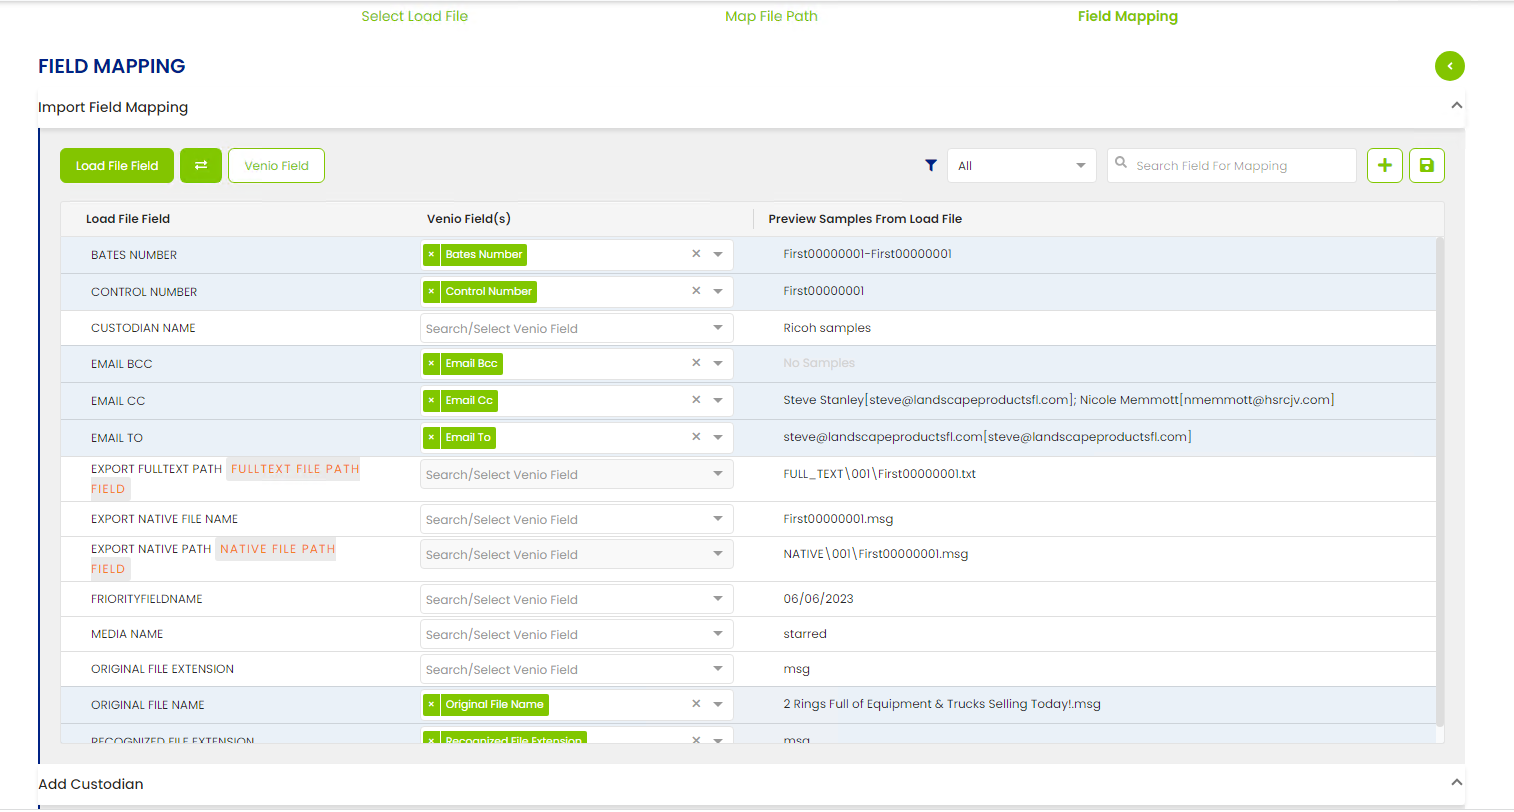
¶ 3. Field Mapping and Load File Preview
- Mapping Options:
- In the Map File Path page, you can choose which document components to process—Full Text, Native, or Image.
- Extracted Text Option:
- Check the box for “Load file has extracted text” if your load file contains pre-extracted text.
- Preview Mapping:
- Click the Load File Preview button. This opens a dialog showing the field details.
- Review the preview to ensure that the data fields are being interpreted correctly.
- Close the Preview:
- Once satisfied, click the Close button to return to the mapping page.
¶ 4. Validate Mappings and Paths
- Toggle Processing Options:
- Use available toggles to choose which items are processed and update folder paths as needed.
- Validate Paths:
- Click the Validate Paths button. The system will confirm whether the file paths and folder structures are correct.
- Final Validation:
- Once the paths are validated, click the Validate button to check that all field mappings are correct and complete.
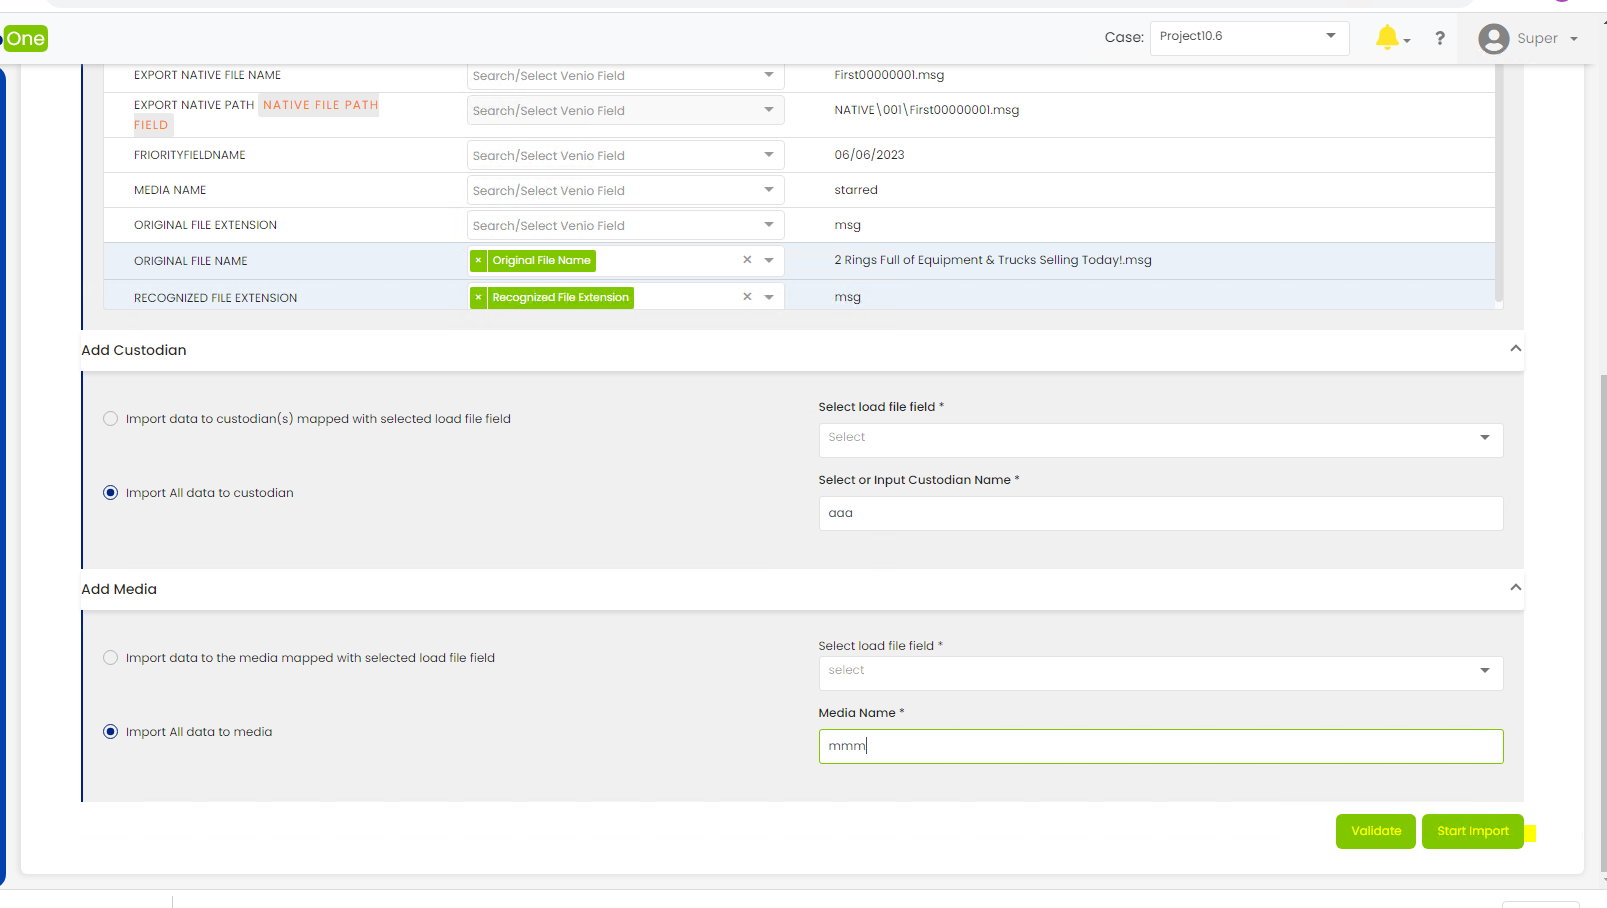
¶ 5. Start the Import
-
Initiate Processing:
- With all fields mapped and validated, click the Start Import button.
-
Monitor Progress:
- The system will display an import progress dialog that updates as the data is being processed.
-
Completion:
- When the import reaches 100%, you will receive a notification, and you can then navigate to the case to review the imported data.
¶ Common Issues and Troubleshooting
- Incorrect Date Formats:
- If the dates are not mapping correctly, double-check the date format and time zone settings on the load file configuration screen.
- Invalid File Paths:
- Ensure that both the load file and image file paths are correct. Use the Validate Paths function to catch errors before starting the import.
- Mapping Errors:
- If the preview does not display the expected field values, re-check the selected template and manually adjust the field mapping as needed.
- Notification Failures:
- If you do not receive a completion notification, verify that your system settings for notifications and email alerts are configured correctly.
¶ Conclusion
Processing structured data in VenioOne OnDemand is a multi-step workflow that demands precision and careful review at each stage—from template selection and field mapping to path validation and final import. By following this guide and troubleshooting common issues, you can ensure that structured data imports run smoothly, setting the stage for accurate case analysis and review.