¶ VOD Project Deletion Guide
Step-by-step guide to deleting projects in Venio On Demand. Covers login, navigation, deletion workflow, and confirmation.
¶ Precautions
-
Triple check that you have selected the correct project to delete before proceeding. Project deletion is permanent and cannot be undone.
-
Ensure you have a functional backup of the project folder and/or database before deleting in case the data needs to be restored.
-
If only deleting the database, be aware the project folder will still consume disk space and need to be manually deleted.
-
Monitor the deletion process closely and do not navigate away from the page until completion to avoid errors.
-
Deletion times will vary based on project size and number of items. Larger projects may take hours to fully delete.
Taking precautions like comprehensive backups and carefully confirming selection is crucial to avoid accidental data loss when deleting projects. Let the full deletion complete before taking any other actions on the project.
¶ Alternative to Deletion
If instead of deleting a project, you simply want the project removed from the case launchpad so users cannot access it, have your SQL administrator follow this query to remove all the users from the project
¶ Guide
To delete a project in Venio OnDemand, follow these steps:
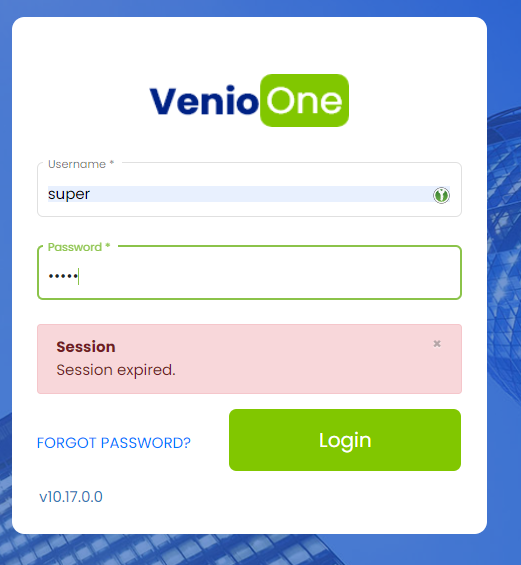
¶ Logging In to VOD
Login under an account with the proper Venio Admin Level with case deletion permissions
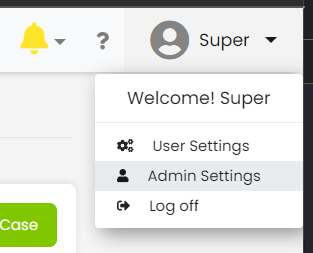
¶ Navigating to the 'Admin Settings' page
Click the user icon on the top right of the Venio OnDemand page and select 'Admin settings'
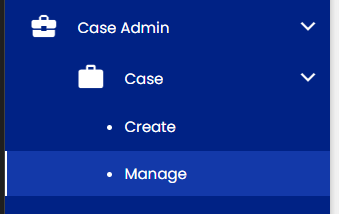
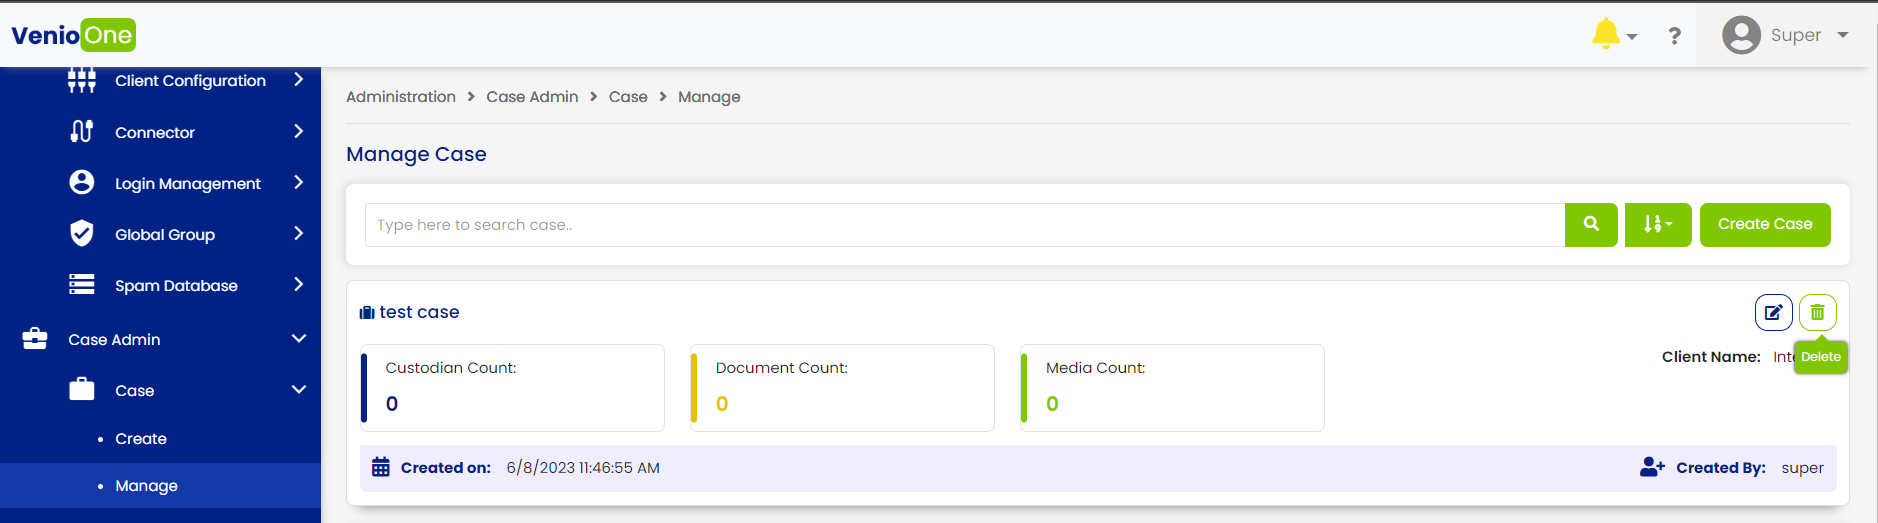
¶ Navigating to the Case Management page
In the left menu, scroll down to Case Admin then click on Case -> Manage
¶ Deletion Process
Search the name of the case you wish to delete, then click the trash can icon to delete the case
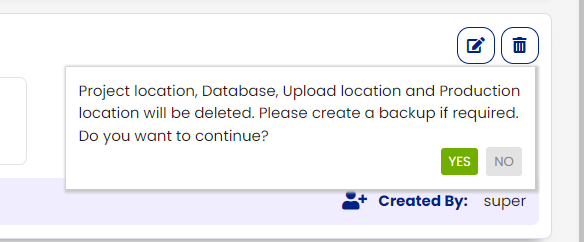
A Pop-up message will ask for confirmation. Click 'Yes'
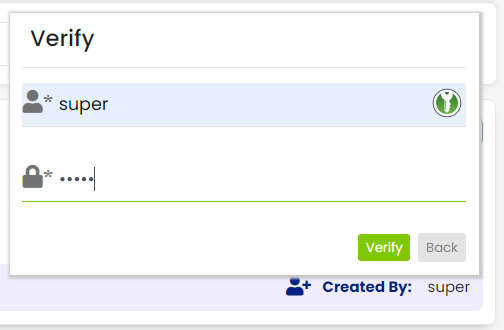
Verify your identity by logging in again with the credentials of the account with the proper permissions for case deletion, then click verify.
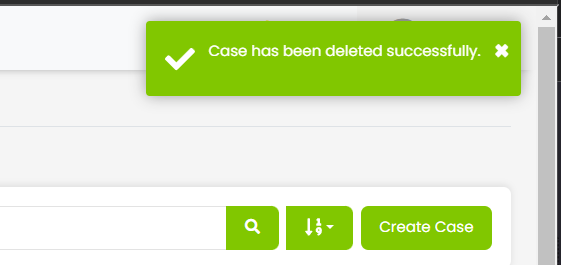
After deletion completes, a pop-up message in the notification section will state 'Case has been deleted successfully.'